Share Groups
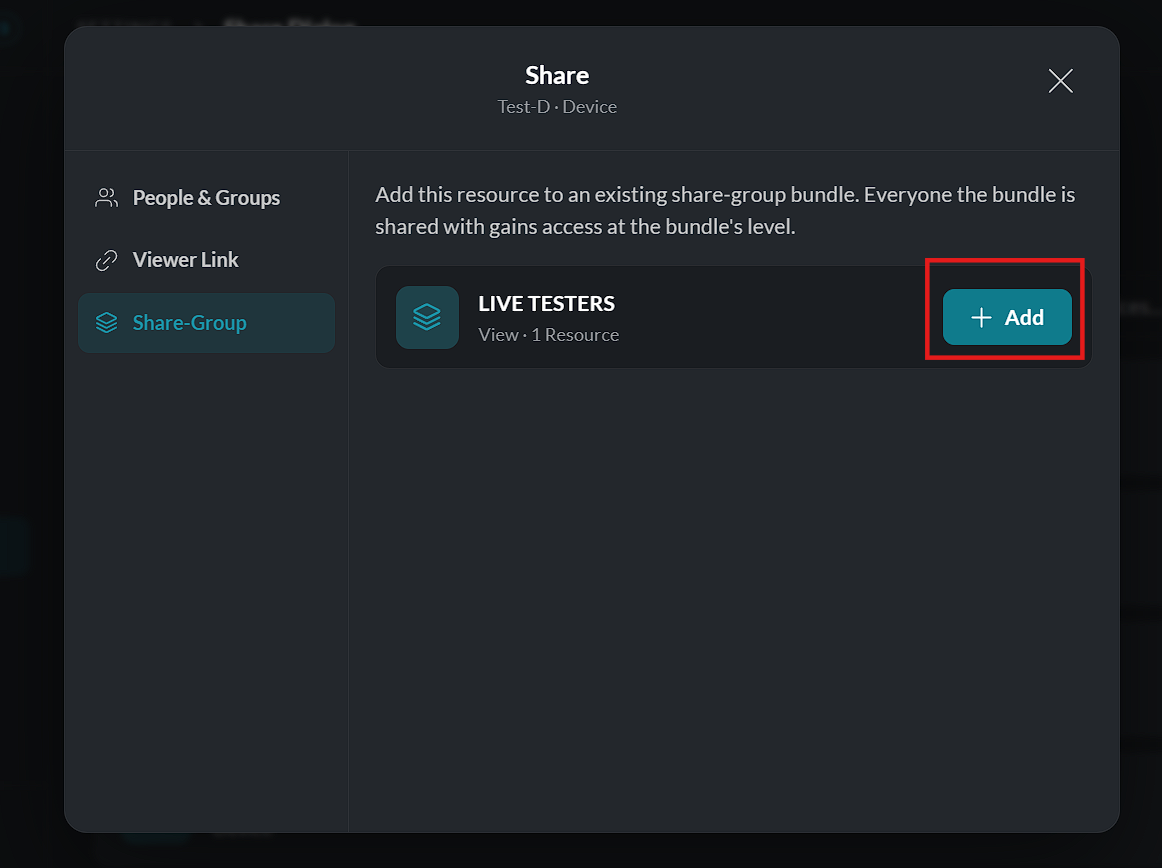
The Share Groups page allows administrators to create and manage reusable groups of users for resource sharing. Instead of selecting individual users each time a resource is shared, users can be organized into share groups, making collaboration faster and more consistent.
Viewing Share Groups
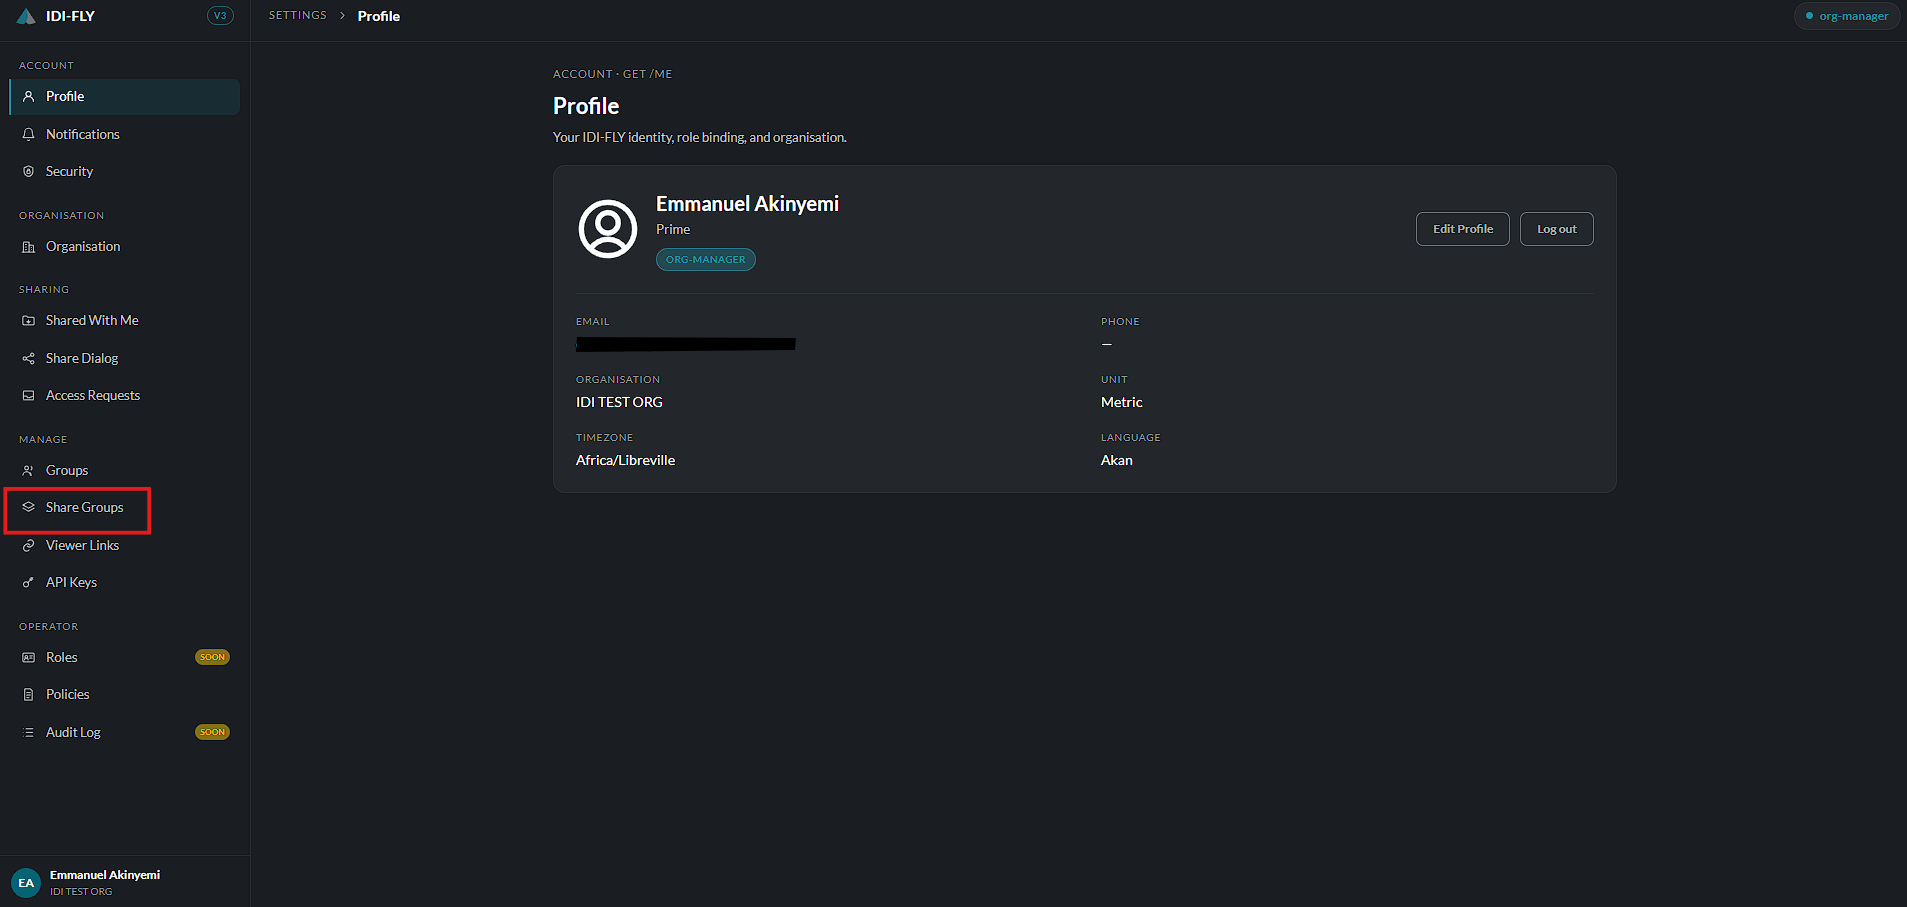
Navigate to:
Settings → Share Groups
The page displays all existing share groups within the organization, including the number of users assigned to each group.
A search field is available to quickly locate a share group by name.
Creating a Share Group
To create a new share group:
-
Click Create Share Group.
-
Enter a unique name for the group.
-
Optionally provide a description to help identify its purpose.
-
Search for and select the users to include in the group.
-
Click Create to save the new share group.
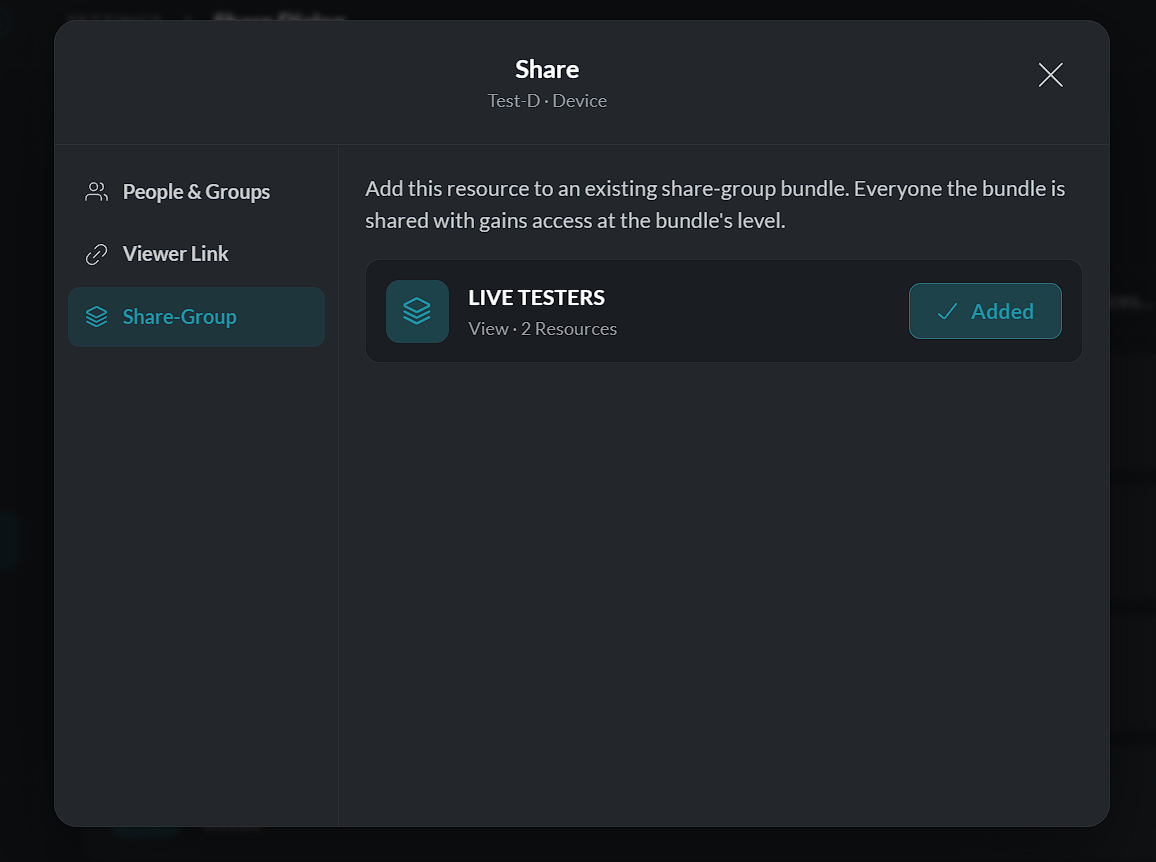
The newly created group becomes available immediately as a sharing destination within the Share Dialog.
Managing Members
Share groups can be updated at any time.
Authorized users can:
- Add new members.
- Remove existing members.
- Rename the share group.
- Update the group description.
Changes are applied immediately after saving.
Editing a Share Group
To modify an existing group:
- Locate the required share group.
- Click Edit.
- Make the required changes.
- Click Save to apply the updates.
Deleting a Share Group
If a share group is no longer required:
- Select the group from the list.
- Click Delete.
- Confirm the deletion when prompted.
Deleting a share group removes the group only. It does not delete the users within the group or affect resources that they own individually.
Note: Share Groups are designed to simplify resource sharing by allowing administrators to assign permissions to multiple users through a single group, reducing repetitive sharing tasks and ensuring consistent access management.